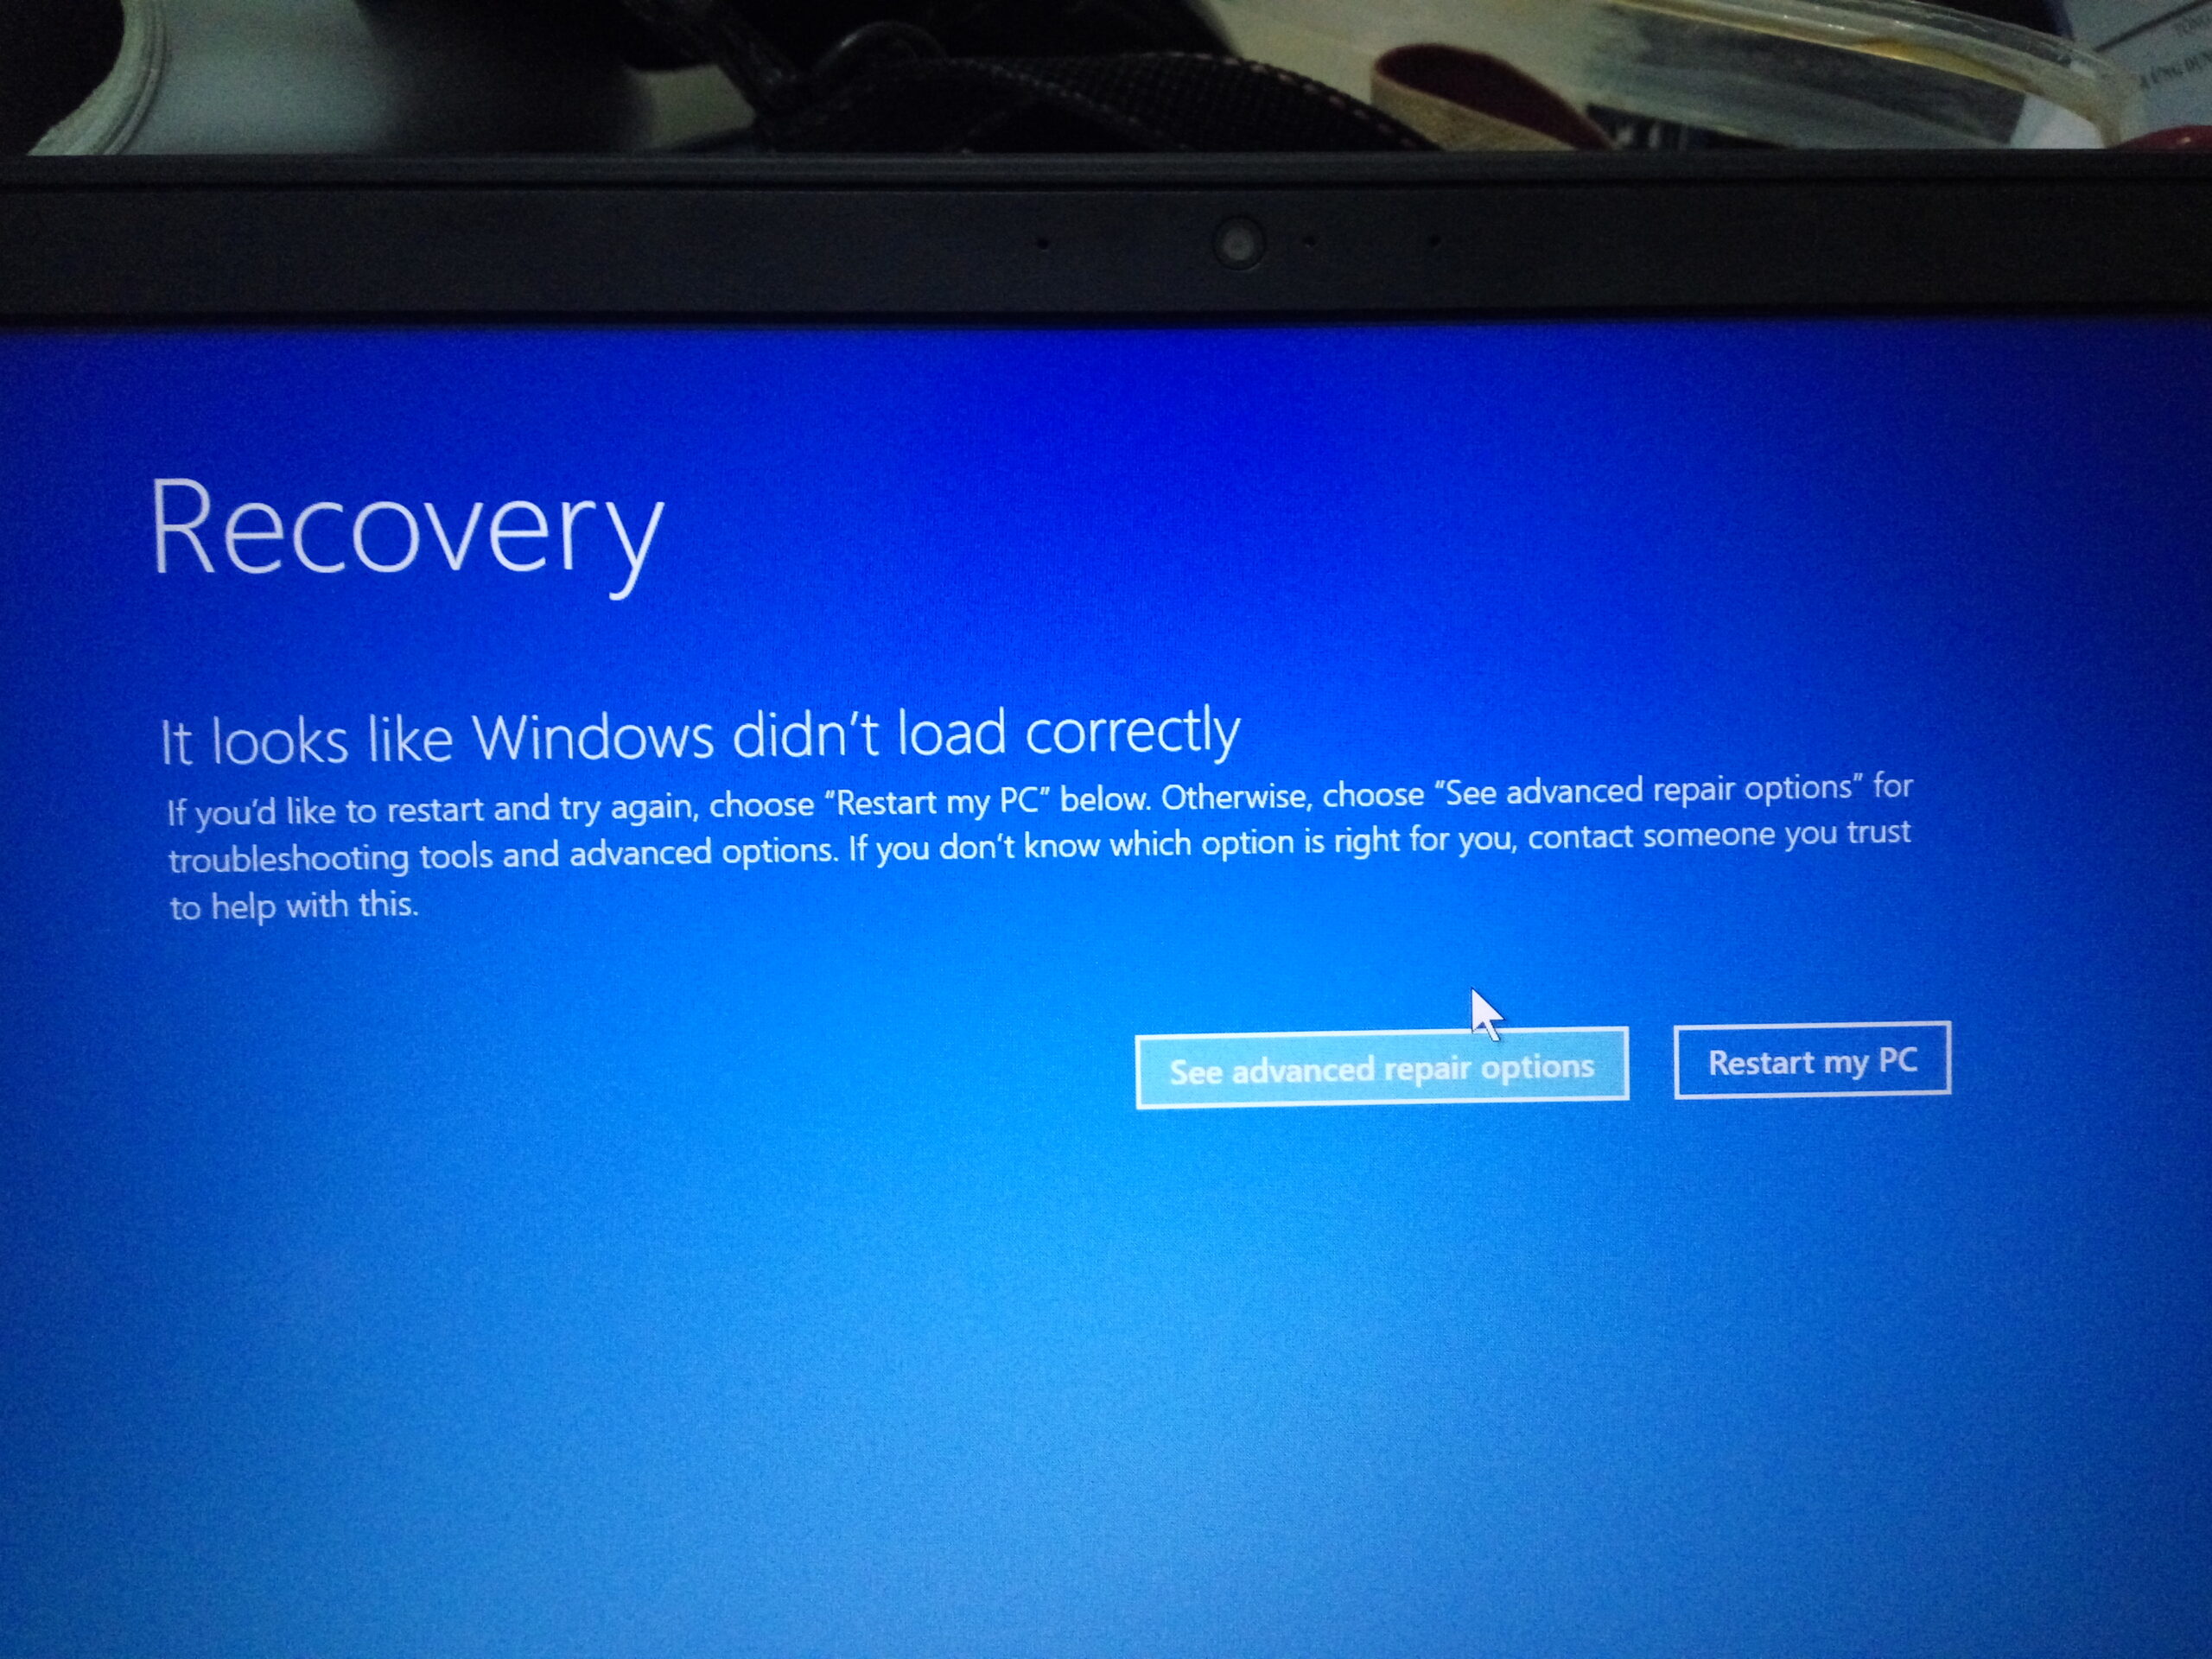
Sửa lỗi RECOVERY It looks like Windows didn’t load correctly Mình mới mua Laptop dell inspiron 7567 và cứ chạy Avast virus là bị đơ máy sau đó lỗi Win 10 64bit luôn và nó bào là.. recovery it looks like windows didn’t load correctly if you’d like to restart and try again, choose “restart my pc” below. otherwise, choose “see advanced repair options” for troubleshooting tools and advanced options. if you don’t know which option is right for you, contact someone you trust to help with this. see advanced repair options restart my pc
Nội dung chính:
Sửa lỗi RECOVERY It looks like Windows didn’t load correctly
Mình tắt nguồn và không thể khởi động được, mình có Repair window và nó báo là:
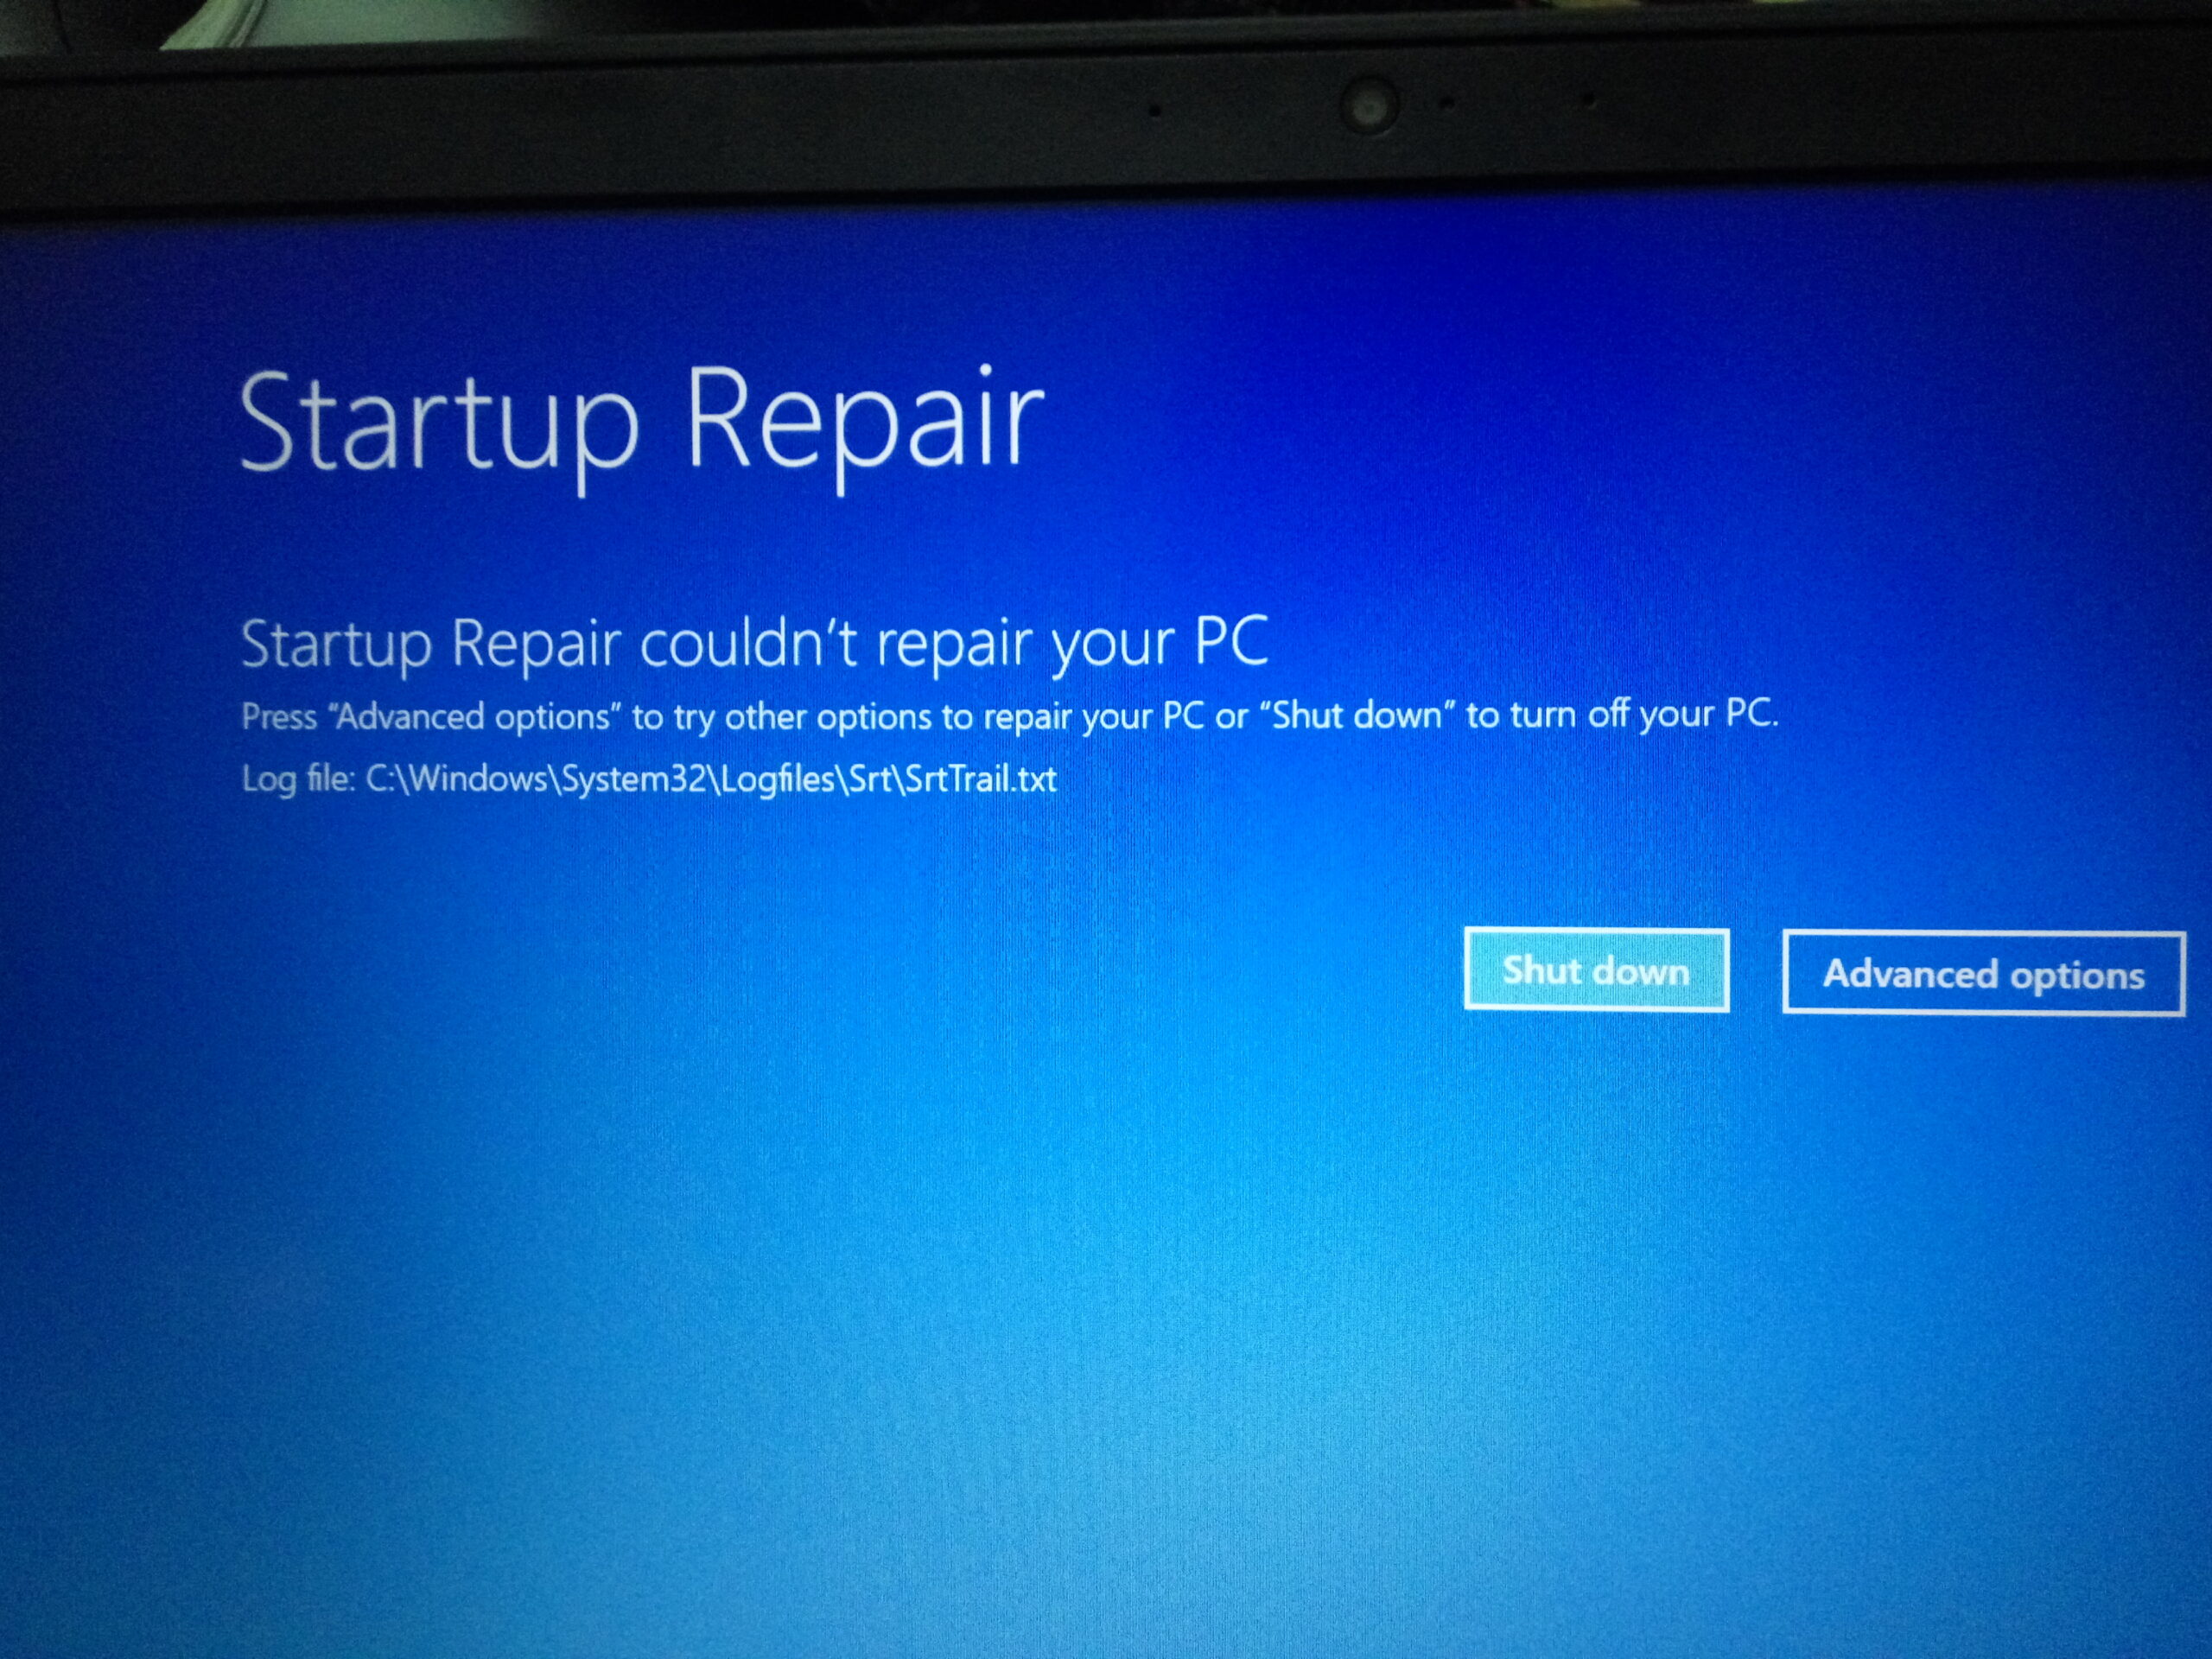
startup repair couldn’t repair your pc
Press “Advanced options” to try other options to repair your PC, or “Shut down” to turn off your PC
Log file C:\Windows\System32\Logfiles\Srt\SrtTrail.txt
Mong các bạn giúp mình, mình bị lỗi này nhiều quá
Sửa lỗi Recovery, your pc couldn’t start properly Windows 11, 10
Cách vào Safe Mode
Cách vào chế độ Safe Mode trong trường hợp này chỉ có thể là làm máy tính bị gián đoạn khởi động 3 lần liên tiếp. Máy sẽ vào chế độ Automatic Repair. Việc cần làm của bạn là cứ nhấn nút bật máy thấy nó đang load Windows thì nhấn giữ phím nguồn để tắt máy/. Làm 3 lần, tới lần thứ 4 sẽ mở được chế độ này.
Ngoài ra còn 1 cách khá hay để vào Safe Mode hoặc Automatic Repair là nhấn F8 ngay tại màn hình bóa lỗi Recovery rồi Restart để vào màn hình chọn Safe Mode. Bạn sẽ thấy danh sách và mục số 4, nhập số 4 enter là Enable Safe Mode. Cách này vào Safe Mode cực nhanh.
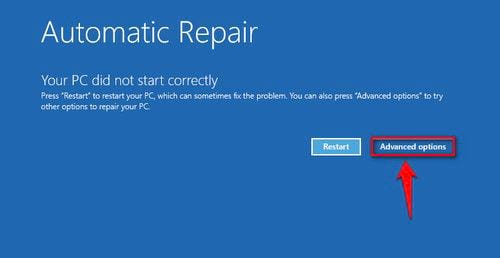
Tại cửa sổ Automatic Repair các bạn chọn Advanced Options -> TroubleShoot -> Advanced Options -> Start-Up Setting -> Restart. Sau khi máy restart sẽ hiện ra danh sách chế độ, trong đó mục thứ 4 là Enable Safe Mode. Bạn nhấn số 4 rồi Enter để bật máy tính lên bình thường. Nhiệm vụ lúc này là phải tìm và gỡ bỏ những thứ đã gây ra lỗi.
Gỡ bỏ bản cập nhật windows bị lỗi
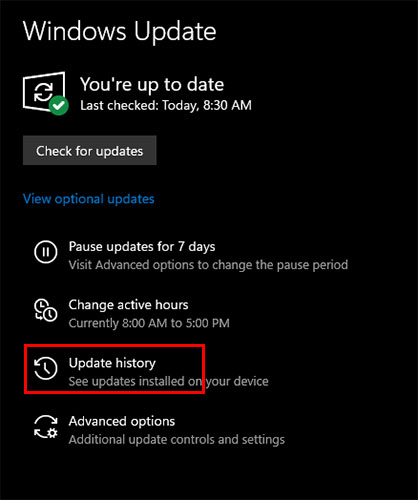
Để gỡ Update cũng như Driver bị lỗi trước đó. Bạn phải vào chế độ Safe Mode của Windows 11, 10. Đây là chế độ có thể coi là nơi gỡ lỗi bởi vì khi máy tính lỗi mà bạn chọn chế đọ này, máy tính vẫn có thể bật lên được. Tìm kiếm “Windows Update & Security” và vào Windows Update & Security => Update History.
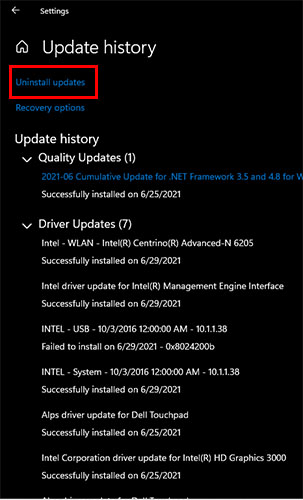
Click vào Uninstall update => chọn các phần của hệ thống Windows mới cài đặt gặp lỗi, bấm Uninstall.
Gỡ bỏ driver gây ra lỗi
Để gỡ các driver mới cài đặt gặp lỗi, chuột phải chọn This Pc => Manage => Device Manager. nếu bạn vừa cài driver màn hình mà gặp lỗi này thì chọn Update device
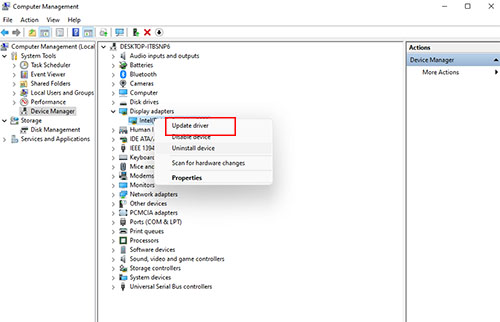
Trong Tab mới click chọn Browse my computer for drivers => Let me pick a list of available drivers on my compute => Click vào Driver trước đó và nhấn Next đợi máy cài đặt lại Driver là xong.
Lỗi không vào được Windows với mã lỗi 0xc0000001
Các bạn cần có một usb có chứa sẵn file cài đặt Windows 11. Khởi động lại máy chọn chế độ boot là Usb để vào phần Setup Windows, bấm giữ Shift + f10 để mở giao diện CMD. Gõ lệnh Diskpart => Enter sau đó tiếp tục gõ List disk => Enter Windows sẽ liệt kê các ổ cứng có trong máy tính. Bạn hãy kiểm tra xem ổ nào đang chưa Windows. Gõ sel disk ” số thứ tự ổ chứa Windows ” .
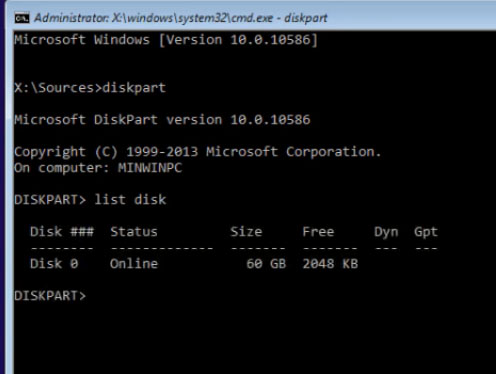
Như trên hình các bạn gõ sel disk 0 nếu ổ cài Windows của bạn là 1 thì các ban thay 0 thành 1 rồi Enter. Tiếp theo gõ lệnh list volume => Enter Windows sẽ hiển thị danh sách partition trên ổ mà bạn vừa chọn. Các bạn xem phân vùng nào trên list là phân vùng chứa Windows của mình thì ghi nhớ, phải chọn đúng phân vùng thì mới sửa lỗi được. Gõ Exit => Enter
Gõ chkdsk (ổ chứa Win sẽ có tên là ký tự chữ cái): /f. Ví dụ của mình là ổ C, chkdsk c: / f => Enter. Các bạn chờ đến khi máy chạy xong, mục đích của việc chekdisk là để kiểm tra xem ổ cứng có bị bad hay không.
Gõ sfc /scannow => Enter đợi cho đến khi lệnh được chạy xong, gõ tiếp bootrec /fixboot => Enter. Sau đó khởi động lại máy, tiếp tục boot vào file Setup Windows, Bấm Next để vào cửa sổ Install Now.
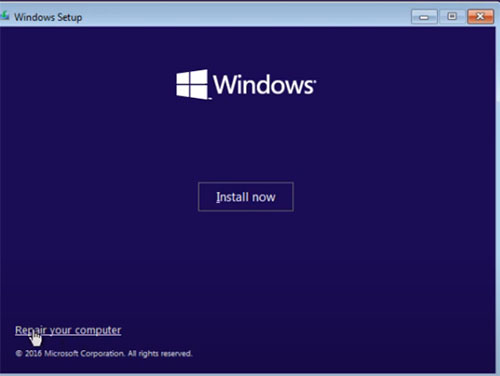
Tại giao diện này bấm Repair your computer => Troubleshoot => Advanced optiosn => Startup Repair => Windows 11. Chờ Windows 11 sửa lỗi tự động xong là máy tính của bạn có thể sử dụng bình thường.
Trường hợp làm bằng biện pháp này không hiệu quả thì bạn phải cài lại Win, trước khi cài win nên backup dữ liệu để tránh bị mất dũ liệu không cần thiết. Nếu bạn chưa biết cài win thì xem bài viết cài đặt Windows 11 Tại Đây.
Cách sửa:
Lỗi này các bạn tốt nhất nên cài lại windows và ko dùng Avast nhé:
Trong khi đó, để sửa chữa một số sự cố nhất định với máy tính của bạn, chúng tôi khuyên bạn nên thực hiện Sửa chữa Khởi động. Để làm như vậy, vui lòng làm theo các bước dưới đây:
Nhấp vào nút “Xem các tùy chọn sửa chữa nâng cao” trên trang Khôi phục.
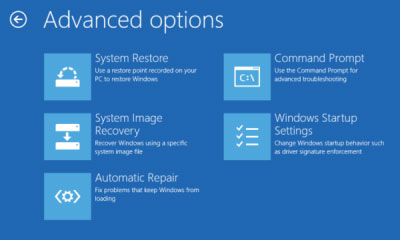
Trong Tùy chọn nâng cao, hãy chọn Sửa chữa Khởi động.
Trong Startup Repair, hãy chọn một tài khoản để tiếp tục.
Nhập mật khẩu của tài khoản đã chọn (nếu có), sau đó nhấp vào Tiếp tục.
Hãy để Startup Repair chẩn đoán và sửa chữa máy tính của bạn.
Lưu ý: Startup Repair chỉ có thể khắc phục một số vấn đề nhất định, chẳng hạn như tệp hệ thống bị thiếu hoặc bị hỏng. Nó không thể khắc phục các lỗi phần cứng, chẳng hạn như đĩa cứng bị lỗi hoặc bộ nhớ không tương thích.
Bản tiếng anh Sửa lỗi RECOVERY It looks like Windows didn’t load correctly:
There are 2 factors why your computer won’t boot:
- Hardware failure
- Software corruption
In this case, the main factor is software corruption. You still have the option to repair the operating system through Advanced options.
For us to better assist you with the issue, were there any changes made to your computer prior to this(eg.Windows updates)?
Meanwhile, to repair certain problems with your computer, we suggest performing a Startup Repair. To do so, please follow the steps below:
- Click the “See advanced repair options” button on the Recovery page.
- Under Advance options, select Startup Repair.
- Under Startup Repair, choose an account to continue.
- Enter the password of the selected account(if any), then click Continue.
- Let Startup Repair diagnose and repair your computer.
Note: Startup Repair can only fix certain problems, such as missing or damaged system files. It can’t fix hardware failures, such as a failing hard disk or incompatible memory.
We’re looking forward to your reply.
We appreciate you for being part of Windows 10.
Before proceeding, we need more information to help you better.
Are you able to boot into Desktop?
Do you get any error message when you try to load Windows?
If you are able to boot into the Windows 10 Desktop, perform the below methods to repair any damaged versions on Windows 10.
Method 1:
System file check is a utility built into the Operating System that will check for system file corruption. The sfc /scannow command (System File Check) scans the integrity of all protected operating system files and replaces incorrect, corrupted, changed, or damaged versions with the correct versions where possible.
I suggest you to refer the below link on how to perform System File Checker and check if it helps.
If you are not able to repair some files after performing SFC scan, I suggest you to refer to the point 3 “Windows Resource Protection found corrupt files but was unable to fix some of them. Details are included in the CBS.Log %WinDir%\Logs\CBS\CBS.log”. Under the section “Run the System File Checker tool (SFC.exe)” to repair the corrupted files after performing SFC scan.
Use the System File Checker tool to repair missing or corrupted system files
https://support.microsoft.com/en-us/kb/929833
If the issue persists, follow the below method.
Method 2:
I suggest you to perform DISM commands to Repair corrupted files. Follow the below steps:
Press Windows + X keys on the keyboard, select Command Prompt (Admin) (Enter if any credentials prompted).
Type the following command and try to repair corrupted files.
Dism /online /cleanup-image /restorehealth
Kindly let us know if you need any further assistance with this issue. We are glad to assist you.
Thank you.


