3584 lượt xem
Giới thiệu những điểm mới trong visio 2016 và hướng dẫn học visio. Có lẽ một trong những phần mềm đắt nhất và hay nhất trong bộ office của Microsoft là visio, nhưng hiện nay nó chưa được phổ biến. Nó đặc biệt rất tiện dụng, là một công cụ tốt trong việc diễn đạt các sơ đồ bằng hình vẽ. Quan trọng nhất, nó rất dễ học chứ không khó như mọi người vẫn từng tưởng tượng
1- Thêm nút kết nối dữ liệu trực tiếp với excel với nút quick nhập dữ liệu, khi bạn vẽ sơ đồ tổ chức thì việc này khá hay, tuy nhiên thì cá nhân mình thấy khi làm chuyên sâu áp dụng được, còn sử dụng cơ bản trong các đồ án, bản vẽ thì chưa cần dùng đếnMới đây thì cùng với việc cho ra đời bộ office 2016, Microsoft đã cho ra đời bộ visio 2016 với nhiều tính năng cải tiến
Còn đây là video hướng dẫn vẽ sơ đồ tổ chức bằn
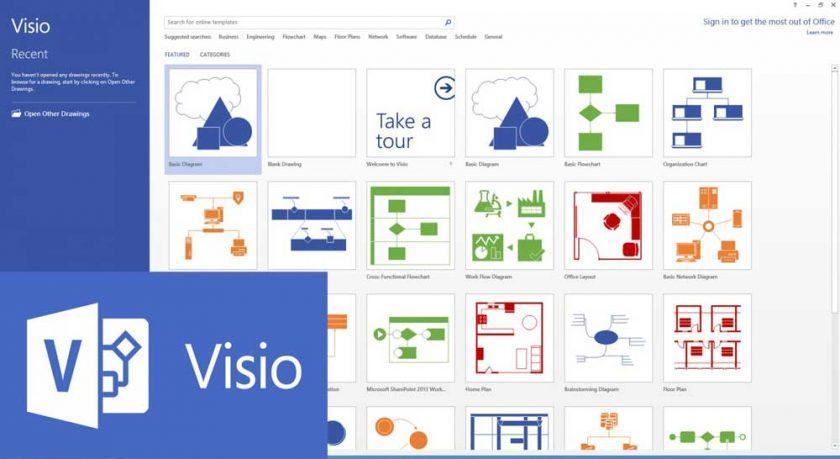
Start the Visio app or open Visio on the web. If Visio is already open, select File > New.
Note: Haven’t installed Visio yet? If you have Visio Plan 2, you can download and install the Visio desktop app.
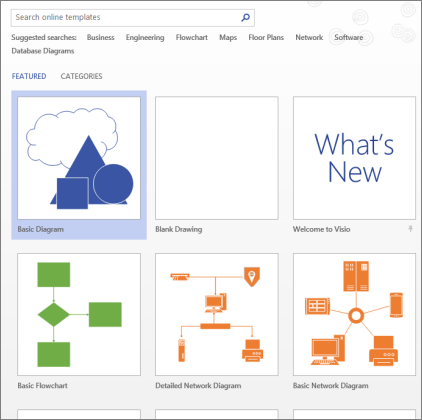
Select the template you want, or select Basic Diagram to start from scratch.
You can also browse for more templates by clicking Categories, and you can enter terms to search for templates.

If you’re using the desktop link, you may have to specify a specific type of that template and then select Create.
Nội dung chính:
Arrange and connect shapes
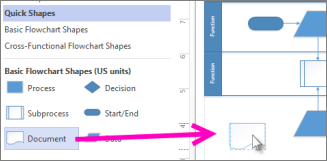
To create your diagram, you drag shapes from the stencil in the Shapes window to the canvas and connect them. There are several ways to connect shapes, but the simplest way is with AutoConnect arrows.
Note: AutoConnect is available by default when your drawing is based on a template for a type that typically requires connections, like a flowchart. If do not see the AutoConnect arrows ![]() when you hover the mouse pointer over a shape, AutoConnect is not active. To activate AutoConnect, click Connector in the Tools area on the Home tab.
when you hover the mouse pointer over a shape, AutoConnect is not active. To activate AutoConnect, click Connector in the Tools area on the Home tab.
In the Shapes window, select a shape and drag it onto the canvas.

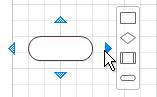
Hold your mouse over one of the arrows and a mini toolbar appears with the top four shapes in the Quick Shapes area.

Select the shape you want and it’ll automatically connect to the arrow you selected.You can also drag all your shapes onto the canvas. Then hold the mouse over a shape until the arrows appear. Then grab an arrow and drag it to a shape you want to connect to.

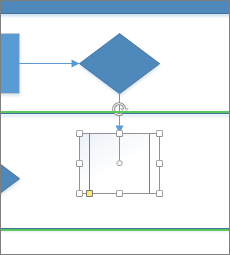
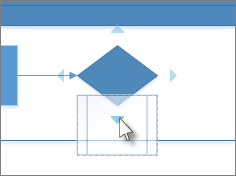
If you’re using the Visio desktop app, you can also drag a new shape directly from the Shapes window to an existing shape’s arrows and connect them automatically.

Add text to shapes and connectors
Now it’s time to add details to your diagram by adding text. For more details about working with text, see Add, edit, move, or rotate text on shapes and Add text to a page.
Select a shape.
Type your text. When you start typing, Visio switches the selected shape to text editing mode.

Click an empty area of the page, or press Esc when you’re finished.
Note: To move text on a shape, go to Home > Tools > Text Block
 , and go to a shape that has text on it. Drag the text around and then go back and click Home > Tools > Pointer Tool
  when you’re done.

Add text to a connector the same way. After you press ESC or click away, select the connector again and you’ll see a tiny box on the text – this is a handle for moving the text block. Click and drag it up, down, or beside the connector.
Customize your Visio diagram
Once you’ve created your Visio diagram, there’s more you can do to make it your own:
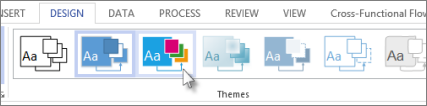
On the Design tab, hover the mouse pointer over the various themes.
Visio temporarily applies each theme as you hover the mouse pointer over them.

To see other available themes, click More
 .
.Click the theme that you want to apply to the diagram.
Click Design and then click Backgrounds.
Click a background.
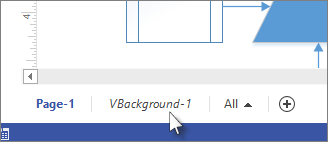
Your diagram gets a new background, and, a new background page called VBackground-1. This page you can see in the page tabs along the bottom of the canvas.

Click Design > Borders & Titles and click the title style that you want.
Click a title style.
The title and border appear on the background page.
At the bottom of the diagramming area, click the VBackground-1 tab.
Click the title text.
The entire border is selected, but when you start typing it changes the title text.
Type your title, then press ESC.
To edit other text in the border, first select the entire border, and then click the text you want to change and start typing. You may have to click more than once to get the text selected.
Click Page-1 in the lower-right corner of the page to return to the drawing.