2475 lượt xem
Hướng dẫn sửa lỗi “Windows cannot connect to the printer”, windows cannot connect to the printer access is denied in windows 10, windows cannot connect to the printer access is denied error 0x0000011b, windows cannot connect to the printer access is denied windows 11, windows cannot connect to the printer access is denied windows 7, windows cannot connect to the printer, access is denied server 2012 r2, windows cannot connect to the printer access is denied server 2019, windows cannot connect to the printer windows 10 64-bit, windows cannot connect to the printer access is denied server Một máy in dùng chung cho nhiều PC là một điều rất phổ thông tại môi trường văn phòng. Tuy nhiên một lỗi rất phổ biến gây trở ngại cho quá trình in ấn đó là “Windows cannot connect to the printer” ( thường gặp nhiều nhất ở Windows 7). Trong bài viết sau, Phong Vũ muốn chia sẻ tới quý bạn đọc hướng dẫn 4 cách sửa lỗi không thể kết nối tới máy in trên.
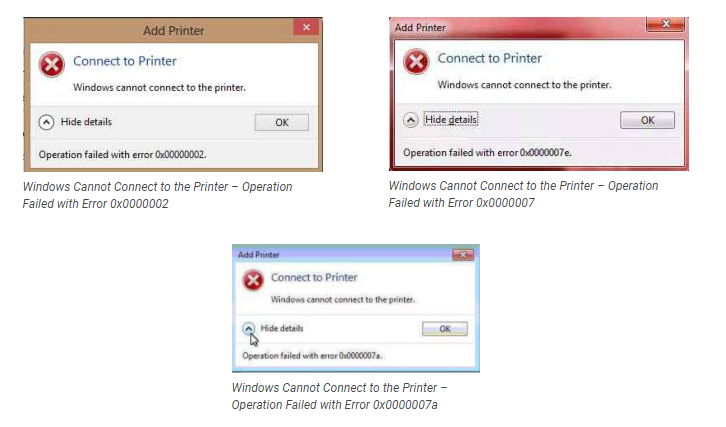
Lỗi “Windows cannot connect to the printer” nhiều khả năng đi kèm với các dòng mã cụ thể như 0x0000007e.
Nội dung chính:
Cách 1: Khởi động lại Printer Spooler Service
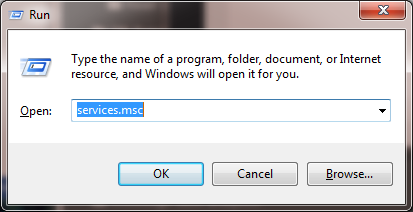
- Sử dụng tổ hợp phím Windows + R để mở hộp thoại Run.
- Type dòng mã services.msc và nhấn OK.
Tìm kiếm mục Print Spooler và nhấn đúp vào icon mục được chọn.
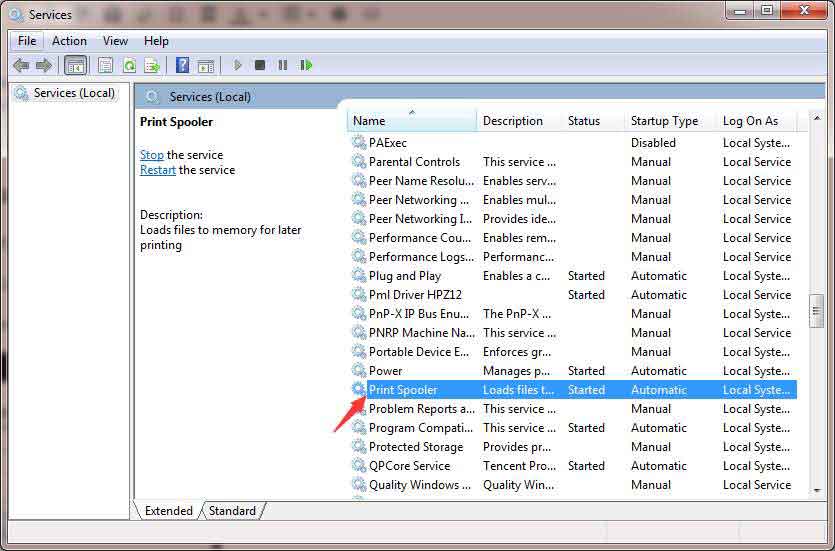
Chọn Stop tại mục Service status và sau đó nhấn Start lại ngay sau đó.
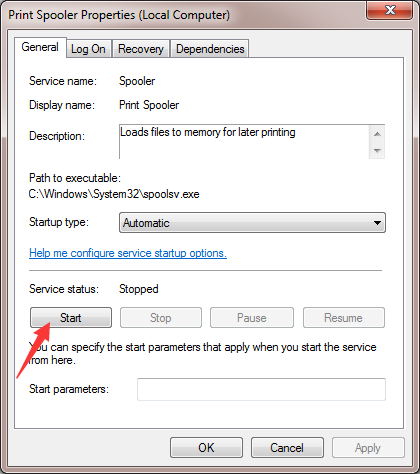
Chọn OK và kiểm tra lại khả năng hoạt động bình thường của máy in.
Nếu lỗi “Windows cannot connect to the printer” vẫn chưa được khắc phục, bạn có thể chuyển sang cách 2 sau.
Cách 2: Tạo Local Port mới
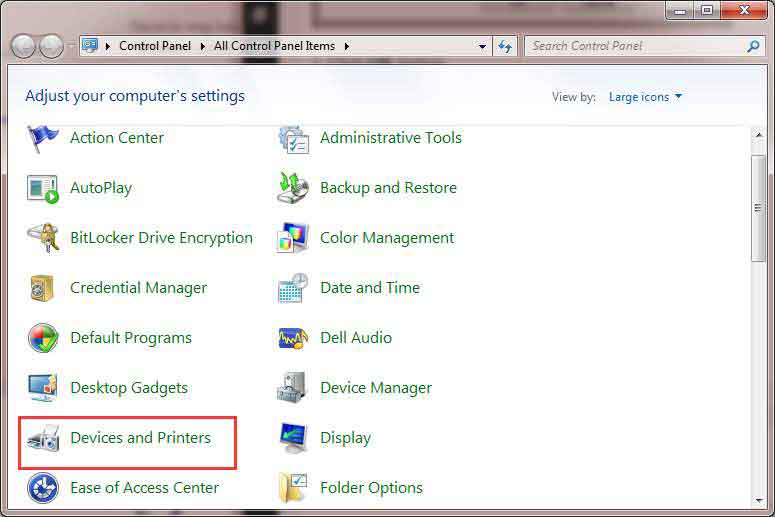
- Mở Control Panel.
- Chọn mục Devices and Printer
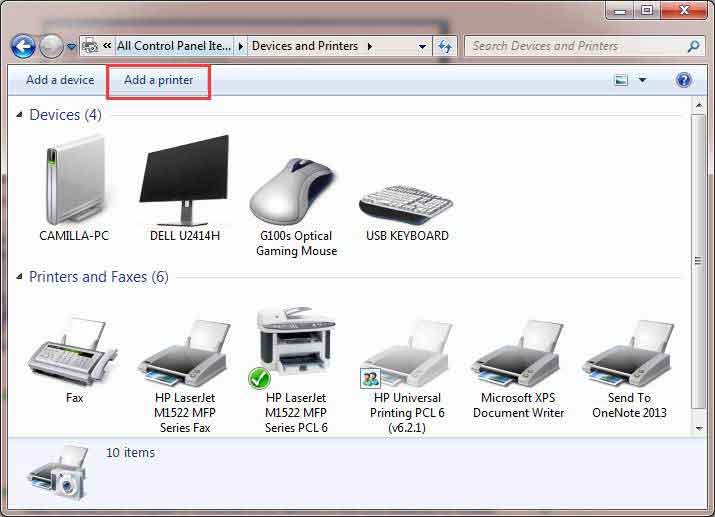
Tiếp tục click vào Add a printer.
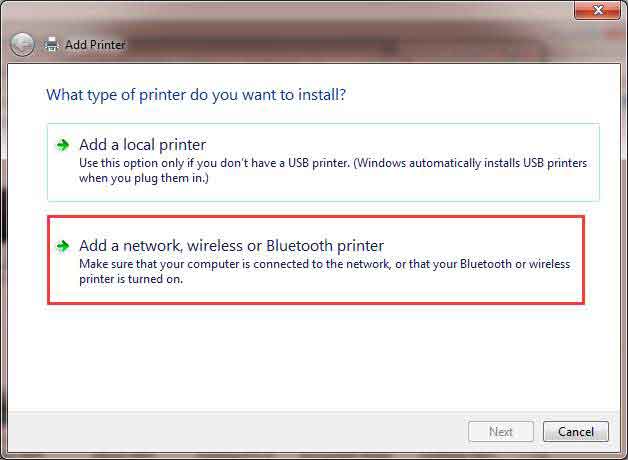
4. Chọn Add a network, wireless or Bluetooth printer.
5. Chọn Create a new port, thay đổi cấu hình “Type of port” thành Local Port và Next.
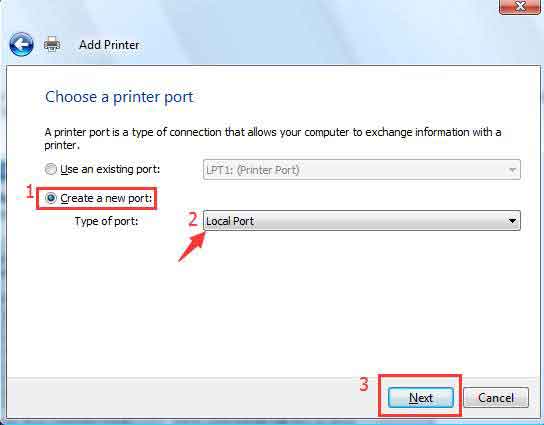
6. Đối với Enter a port name trong hộp thoạt hiện lên, bạn cần điền vào địa chỉ của máy in. Thông số này hoạt động như sau: địa chỉ IP của bạn hoặc tên PC Tên máy in.

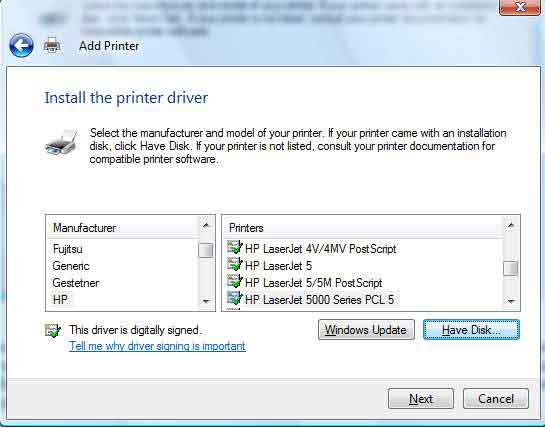
7. Lựa chọn nhà phát hành và mẫu máy in rồi tiếp tục làm theo hướng dẫn để hoàn thành thêm printer.
Cách 3: Xóa và cài lại driver của printer để sửa lỗi “Windows cannot connect to the printer”
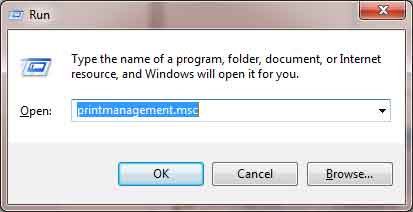
- Windows + R để mở hộp thoại Run.
- Type dòng mã printmanagement.msc và xác nhận.
Click vào mục All Drivers.

Tìm driver của máy in ở ô cửa sổ giữa, chuột phải và chọn Delete. Nếu bạn tìm thấy nhiều hơn một driver, lặp lại những bước trên và xóa bỏ từng cái một.

Thêm vào driver của máy in một lần nữa. Địa chỉ tải về tốt đó là trang web chính thức của nhà phát hành máy in mà hiện tại bạn đang sử dụng.
Cách 4: Copy file hệ thống “mscms.dll”
- Tìm đến thư mục C:Windowssystem32và tìm kiếm file mscms.dll
- Copy file trên tới vị trí sau
C:windowssystem32spooldriversx643 Nếu bạn đang dùng hệ điều hành 64-bit.
C:windowssystem32spooldriversw32x863 Nếu bạn đang dùng hệ điều hành 32-bit.
3. Kết nối lại một lần nữa với máy in.
Printer driver unavailable after printer install in windows 10
Hi,
I would suggest reinstalling the printer’s legacy drivers.
Here are the complete steps to do so,
1. Press Windows+R and type in control printers
2. Right click the printer with the issue and choose properties
3. Go to the web services tab, save and copy the IP address under troubleshooting information as a reference to the printer’s IP address
4. Close the window and right click the same printer
5. Choose to remove device
6. Go to start/search and type in hdwwiz.exe and open the application
7. Choose the option “Install the hardware that I manually select from a list
8. Locate printer and choose next
9. Choose to create a new port and choose standard tcp/ip port
10. On the hostname type in the IP address from the printer that you’ve saved from step 3
11. Choose the option “Replace the current driver”
12. Choose printer name
13. Choose the option “Share this printer so that others on your network can find and use it.
14. Let the printer install for 5 minutes
Method 2
on computer which printer has installed and want to share it,
1- open registry editor
2-go to HKEY_LOCAL_MACHINE\SYSTEM\CurrentControlSet\Control\Print
3- if you have RpcAuthnLevelprivacyEnabled then set to 0 and restart computer and enjoy the sharing printer.
4-if you don’t have RpcAuthnLevelprivacyEnabled, you must make a new key for it as follow:
-right click and make a new DWORD(32 bit)
-make name RpcAuthnLevelprivacyEnabled , -then restart your computer and everything will work.
I hope it help you.